Welding Position Guide for Better Shop Welds

A weld that runs beautifully on a bench can become a very different job once the joint is vertical, above shoulder height or wrapped around fixed pipe. This welding position guide covers the positions you will meet in fabrication, site work and coding tests, plus the practical changes that keep penetration, bead shape and safety under control.
Why welding position changes the job
Gravity is the issue. In the flat position, the weld pool is supported by the joint and you can generally run higher deposition rates. Move onto a vertical or overhead joint and molten metal wants to sag, drip or build up at the lower edge. Your torch or electrode angle, travel speed, amperage and consumable choice all need to work harder.
That does not mean every out-of-position weld should be slow. Modern synergic MIG/MAG sets, pulse settings and suitable flux-cored wires can make production work far more manageable. But no machine setting replaces sound joint preparation, a comfortable working position and control of the puddle.
Position also affects the weld procedure. A WPS may specify a process, current range, travel direction and maximum heat input for each position. If you are working to a coded procedure, follow it exactly. A setting that produces a neat practice coupon may not meet the procedure or the required mechanical properties.
The main plate welding positions
For groove welds on plate, positions are usually identified with the letter G. Fillet welds use F. Standards and employer terminology can differ, so always check the drawing, WPS or qualification requirement rather than relying on the number alone.
1G and 1F: flat position
In 1G, the plate lies flat and the weld is deposited from above. A 1F fillet weld is also made flat, typically with the work positioned so the inside corner faces upwards. This is the most productive position and usually the easiest place to achieve consistent fusion.
For MIG/MAG, use a sensible push angle and keep the contact tip-to-work distance consistent. With MMA, select an electrode suited to the material and maintain a short, controlled arc. TIG gives excellent control on thinner work and root passes, but the clean surface preparation it demands is not optional.
Flat welding can still go wrong quickly. Excessive voltage or a slow travel speed creates a wide, heavy bead with a risk of undercut at the toes. Too much current can burn through thin material or leave a root that is far too hot. Do not confuse a broad weld cap with a sound weld.
2G and 2F: horizontal position
A 2G groove weld is made on a vertical plate with the weld running horizontally. With 2F, the fillet sits at the intersection of a vertical and horizontal member. The upper toe is where many welders lose control, as the molten pool naturally falls towards the lower plate.
Keep the arc directed into the upper portion of the joint rather than letting it wash downwards. A slight upward work angle helps support the puddle, but excessive angle can cause lack of fusion at the lower toe. For multi-run welds, place each bead deliberately and clean thoroughly between runs. Slag trapped at the edge of a previous pass is a common cause of defects with MMA and flux-cored wire.
3G and 3F: vertical position
Vertical welding demands more control than almost any routine shop position. You will normally weld either vertical-up or vertical-down. They are not interchangeable.
Vertical-up is the usual choice for structural work, thicker material and joints where penetration matters. Run a smaller puddle, lower the heat enough to stop it dropping, and use a controlled weave only where the procedure allows it. Brief pauses at each side can tie in the toes, but lingering too long creates heavy shelves and risks cold lap.
Vertical-down is faster and can suit thin sheet, light fabrication and some production applications. It generally gives less penetration, so it is not the automatic answer for structural joints. Keep the arc ahead of the pool and travel quickly enough that the weld metal does not pile up. If the job calls for a fully penetrated joint, vertical-down may be the wrong process choice altogether.
4G and 4F: overhead position
Overhead work is where preparation and personal protection show their value. In 4G, the weld is made from beneath the joint. In 4F, the fillet is overhead. The target is a small, fast-freezing weld pool, not a large puddle you are trying to catch.
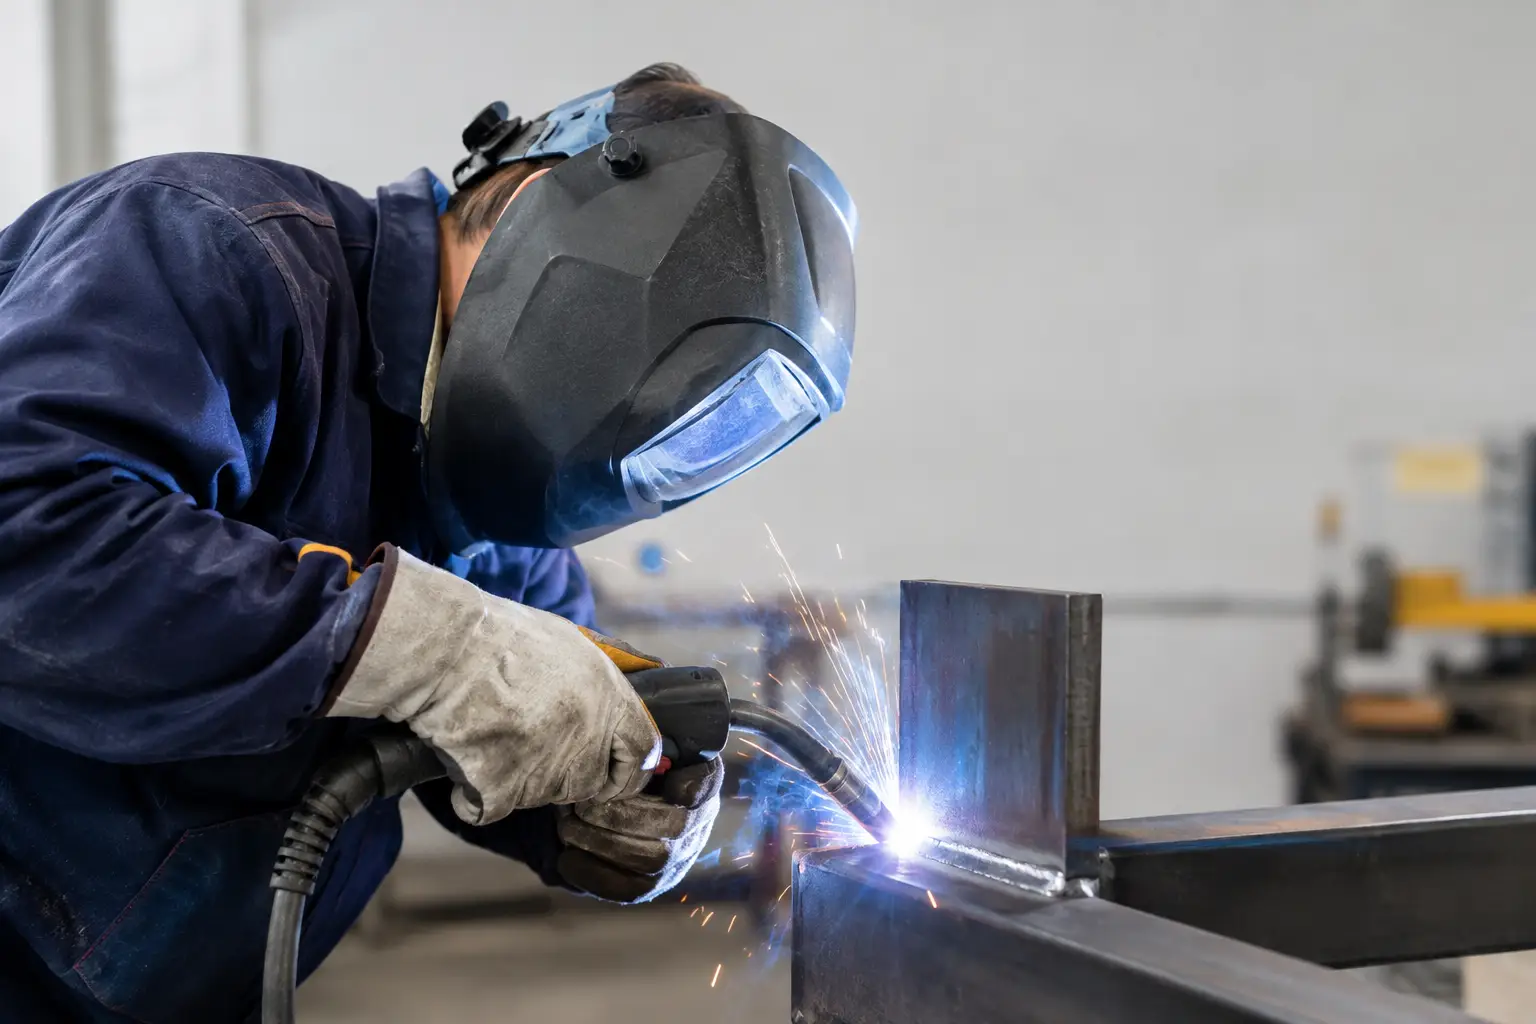
Reduce heat and wire feed compared with flat welding as a starting point, then tune for proper fusion. Keep the torch or electrode close enough for a stable arc, but avoid putting your hands, face or body directly beneath the weld. A properly fitting welding helmet, flame-resistant jacket, gauntlets, safety boots and suitable head protection are essential. Hot spatter has a habit of finding the one gap in your PPE.
Plan access before striking up. A stable platform, clear cable route and enough room to maintain the correct angle will improve weld quality more than trying to compensate with settings. Never balance on loose materials or work under a suspended load.
Pipe positions: 1G, 2G, 5G and 6G
Pipe welding uses the same G designation, but the pipe orientation changes the challenge. A 1G pipe is rolled, allowing the welder to keep the work in a flat position. It is productive, but it does not prove the same level of positional skill as fixed pipe.
In 2G pipe, the pipe is fixed with its axis vertical. The weld is made around the circumference in a horizontal position. A 5G pipe is fixed with its axis horizontal, forcing you to weld through flat, vertical and overhead sections as you travel around it. This is a frequent test and site-work position because the pipe cannot be rotated.
6G is the demanding one: the pipe is fixed at roughly 45 degrees. It combines changing angles with limited access and is widely used for welding qualification tests. There is no single magic torch angle around 6G pipe. Read the puddle, adjust your body position before you become uncomfortable, and maintain consistent arc length as the joint moves from one zone to another.
For open-root pipe, fit-up matters as much as technique. Keep root gap, land and internal alignment within the procedure requirements. Poor tack welds, a wandering gap or contamination inside the bore will make a difficult position unnecessarily expensive.
Set the machine for the position, not just the material
Start from the recommended settings for wire diameter, gas and material thickness, then make controlled changes. Positional welding usually benefits from lower heat input and a reduced weld pool, but cutting power too far causes lack of fusion. The right balance depends on process, joint design and procedure.
With MIG/MAG, a smaller diameter wire can provide better control on thin and out-of-position work. Use clean, dry wire and make sure the drive rolls, liner, contact tip and earth clamp are in good order. Inconsistent wire feed looks like a technique problem until you inspect the torch.
For MMA, choose electrodes designed for positional use where required. Store low-hydrogen consumables correctly and follow any drying guidance. With TIG, use good gas coverage, clean tungsten preparation and enough post-flow to protect the cooling weld and electrode. Wind, draughts and poor gas shielding are especially unforgiving on site.
Before committing to the job, run test beads on offcuts in the actual position. Check the bead profile, both toes, root condition where accessible, and any signs of porosity or trapped slag. A few minutes spent proving the setup is cheaper than gouging out a failed run.
A practical welding position guide for better results
The most dependable approach is simple: position the work wherever possible, then position yourself before you weld. Rotate fabrication to keep critical joints flat. Where that is not possible, use a support, adjustable bench, pipe stand or suitable access equipment so you can see the joint and move smoothly.
Keep consumables dry, surfaces clean and tacks sound. Use short runs when heat control is difficult, particularly overhead or around fixed pipe. Stop if your view of the puddle disappears or your body position becomes strained. Restarting cleanly is better than trying to rescue a weld made blind.
For workshops balancing output with quality, the right machine, wire, PPE and technical backup make a measurable difference. Linc-Weld can help match equipment and consumables to the process and position you are working in. The next time a joint cannot be turned, treat position as part of the welding procedure from the start, not a problem to solve after the first run sags.